

 English
 Español
 عربى
عربى







Content
- 1 Why Stainless Steel Needs a Different Cleaning Approach
- 2 The Cleaning Supplies That Actually Matter
- 3 The Step-by-Step Cleaning Routine: Clean, Rinse, Buff
- 4 How to Remove Specific Stains Without Damaging the Finish
- 5 Cleaning Stainless Steel Appliances by Type
- 6 Common Mistakes That Damage Stainless Steel
- 7 Maintenance Habits That Keep Stainless Steel Clean Longer
- 8 Frequently Asked Questions About Stainless Steel Cleaning
You wipe the stainless steel range hood with a damp cloth, and the grease film spreads instead of lifting. Fingerprints stay on the refrigerator door no matter how hard you rub. A cloudy patch has appeared near the stovetop, and you wonder whether you are cleaning the surface or damaging it.
Here is the short version of everything below: stainless steel is not difficult to clean, but it rewards a specific method. Work along the grain, match the cleaner to the soil, and never use coarse abrasives. Follow those three rules, and a professional stainless steel kitchen can look new for years. This guide covers the supplies you actually need, a step-by-step cleaning routine, how to remove burnt-on grease and water spots, and the maintenance habits that make deep cleaning rare.
Why Stainless Steel Needs a Different Cleaning Approach
The conclusion you need up front: streaks on stainless steel are not caused by the material. They come from wiping against the grain and leaving detergent residue behind. Once you address those two causes, most cleaning problems become easy to solve.
Stainless steel gets its name from a thin chromium oxide layer that forms naturally on the surface and protects the metal underneath. Harsh chemicals and abrasive pads weaken that layer, leaving dull areas that attract dirt even faster. The brushed finish on most kitchen appliances also has a visible direction, called the grain. Wiping against the grain pushes grease into the grooves and smears it into streaks; wiping along the grain lifts soil out of the valleys. Direction matters more than pressure.
The Cleaning Supplies That Actually Matter
You do not need a shelf full of specialty sprays. Five inexpensive items handle nearly every stainless steel cleaning task, from daily fingerprint control to monthly degreasing of a commercial range hood.
| Supply | Best For | Why It Works |
|---|---|---|
| Microfiber cloths | Daily wiping and buffing | Removes oils without scratching |
| Warm water and mild dish soap | General cleaning | Breaks down grease safely |
| White vinegar or isopropyl alcohol | Fingerprints and smudges | Dissolves skin oils quickly |
| Baking soda paste | Burnt-on food | Mildly abrasive, softer than steel |
| Mineral oil or stainless steel polish | Protective finish | Fills pores and repels new prints |
Keep one set of cloths for cleaning and a separate dry set for buffing. A cloth that picks up grease on one pass cannot dry the surface cleanly on the next.
Keep these away from stainless steel: chlorine bleach, ammonia-based glass cleaners, steel wool, scouring powders, and abrasive pads. They attack the protective layer or leave fine scratches that trap grease permanently.
The Step-by-Step Cleaning Routine: Clean, Rinse, Buff
The method used in professional kitchens is simple: three passes in a fixed order. Clean, rinse, buff. It works on range hoods, pro ranges, refrigerators, and stainless steel prep tables because it removes the two root causes of streaks mentioned earlier.
Clean with warm soapy water to remove loose grease.
Rinse with clean water to remove soap residue.
Buff dry to restore shine and protect the finish.
Pass 1: Clean with warm soapy water
Find the grain first. Look at the surface under natural light; the brush lines usually run horizontally on range hood fronts and vertically on side panels. Dampen a microfiber cloth with warm water and a few drops of mild dish soap, then wipe from the top down, always following the grain, so dirty water does not run over freshly cleaned areas.
Pass 2: Rinse with clean water
Soap residue is the most common cause of streaks, so rinsing is not optional. Dip a second cloth in clean water, wring it thoroughly, and wipe the whole surface again along the grain.
Pass 3: Dry and buff
Use a dry microfiber cloth and buff along the grain until the water film disappears. For extra shine and fingerprint resistance, apply a few drops of food-grade mineral oil or stainless steel polish to the dry cloth and work it in lightly.
Time-saving tip: warm water breaks down cooking grease faster than cold water, so it needs less detergent and less rubbing. Always let the appliance cool first so residue does not bake onto the hot metal.
How to Remove Specific Stains Without Damaging the Finish
Each type of soil behaves differently. Classify the stain first, and the fix usually takes minutes instead of a full scrubbing session.
| Stain Type | Treatment | Time |
|---|---|---|
| Fingerprints and smudges | Wipe with a 1:1 water and vinegar mix, then buff dry | Under 1 minute |
| Water spots and hard-water film | Lay a vinegar-dampened cloth on the spot, wait, then wipe and buff | 2 to 3 minutes |
| Burnt-on grease on stovetops | Apply baking soda paste, wait 10 to 15 minutes, wipe along the grain | About 15 minutes |
| Cloudy areas and rainbow tint | Clean with diluted vinegar and buff dry; heat damage is permanent | About 5 minutes |
On fingerprint-prone areas, a single drop of mineral oil applied after cleaning creates a barrier that keeps new prints light and easy to remove.
Cleaning Stainless Steel Appliances by Type
The three-pass routine is universal, but each appliance collects a different kind of grime. Range hoods build up airborne grease, ranges handle heat and burnt-on food, and refrigerators face constant fingerprint contact.
Range Hoods: Grease Is the Main Enemy
Range hoods collect cooking oil on both the exterior and the filters. On the exterior, use a microfiber cloth dampened with isopropyl alcohol or a lightweight kitchen degreaser, and wipe from the top down so dirty water does not streak over already cleaned areas. Pay extra attention to the bottom edge of the hood, where grease collects silently.
The metal filters need the most attention. Remove the baffle or mesh filters every three to four weeks, soak them in hot water with dish soap, rinse, and dry completely before reinstalling. Some aluminum filters can be washed in a dishwasher, but confirm the material first. For the full procedure, see how to clean and replace kitchen range hood filters.
Brushed stainless steel exteriors follow the same grain-cleaning rule, and a hood built for simple maintenance makes the routine faster. Recommended equipment:
 Reidom 36-Inch Wall Mount Tower Range Hood with Touch Controls and Washable FiltersThis stainless steel wall-mounted hood pairs body-sense and touch controls with washable baffle filters, simplifying the cleaning routine called for on range exteriors and making daily maintenance noticeably faster.View Product →
Professional Ranges and Stovetops: Heat Changes the Rules
On a range, the first rule is to wait until every surface cools completely. Cleaning a hot stainless steel panel can cook soap or grease onto the metal, and water left on hot steel creates hard-water marks that need polish to remove.
Control panels and front panels respond well to the vinegar-and-microfiber method. Burner grates, knobs, and drip trays should be removed, soaked in hot soapy water, and scrubbed with a soft brush. On a busy kitchen line, the front panel of a pro-style range shows fingerprints all day. A model with a simple exterior finish to maintain:
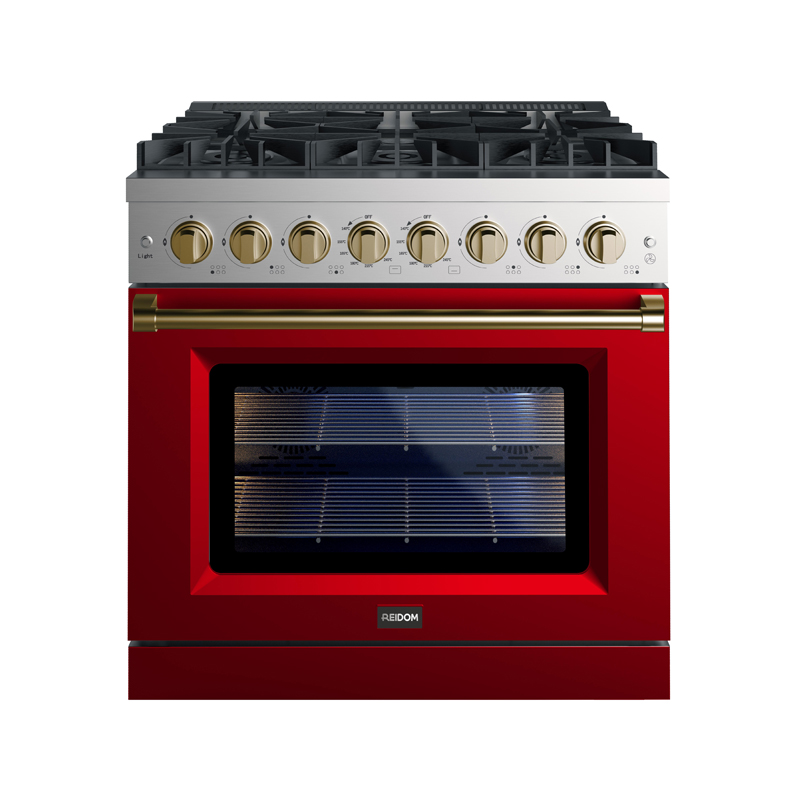 Reidom 36-Inch Gas Range with Black Painted Coating and Convection OvenWith a black painted exterior instead of polished steel, this five-burner gas range resists visible fingerprints and smudges, so front-panel upkeep stays quick between busy cooking shifts.View Product →
Refrigerators and Stainless Steel Prep Surfaces
Refrigerators do not collect heat or airborne grease, so the main fight is fingerprints and smudges from daily use. A quick wipe with diluted vinegar, followed by a dry buff, keeps the door clean. Stainless steel prep tables and shelves follow the same rule: clean them with the grain after each shift so food residue does not form a dull film.
Common Mistakes That Damage Stainless Steel
The most expensive damage to stainless steel usually happens with good intentions. These four habits show up repeatedly in home and commercial kitchens:
- Scrubbing against the grain pushes debris into the brushed lines, leaving a smeared, dull appearance even after rinsing.
- Using chlorine bleach or ammonia cleaners weakens the chromium oxide layer and can lead to discolouration and rust in damaged spots.
- Letting soap solution air-dry leaves mineral and detergent film that appears as white, cloudy marks and gets harder to remove with every cycle.
- Scraping with steel wool or metal scrapers creates visible scratches that trap grease, making the area look permanently dirty.
Avoid these four mistakes and the routine above will preserve the surface for the life of the appliance.
Maintenance Habits That Keep Stainless Steel Clean Longer
Consistent light cleaning separates a kitchen that shines from one that needs monthly deep scrubbing. Short, frequent maintenance beats a long, irregular cleaning day.
- Daily, about 2 minutes: after the last cooking session, wipe the fronts of the range, the hood, and the counters with a dry microfiber cloth so fingerprints do not bake on with residual heat.
- Weekly, about 10 minutes: run the clean-rinse-buff routine on all high-touch surfaces.
- Monthly, about 30 minutes: deep-clean range hood filters and grease traps, and inspect surfaces for dull spots.
- Every two to three weeks: apply a thin layer of mineral oil or stainless steel polish to reduce fingerprint adhesion.
Appliance design also changes how much cleaning is required. Hoods with washable baffle filters reduce the hardest task to three steps: pull the filter out, soak it, and put it back. A model built around that idea:
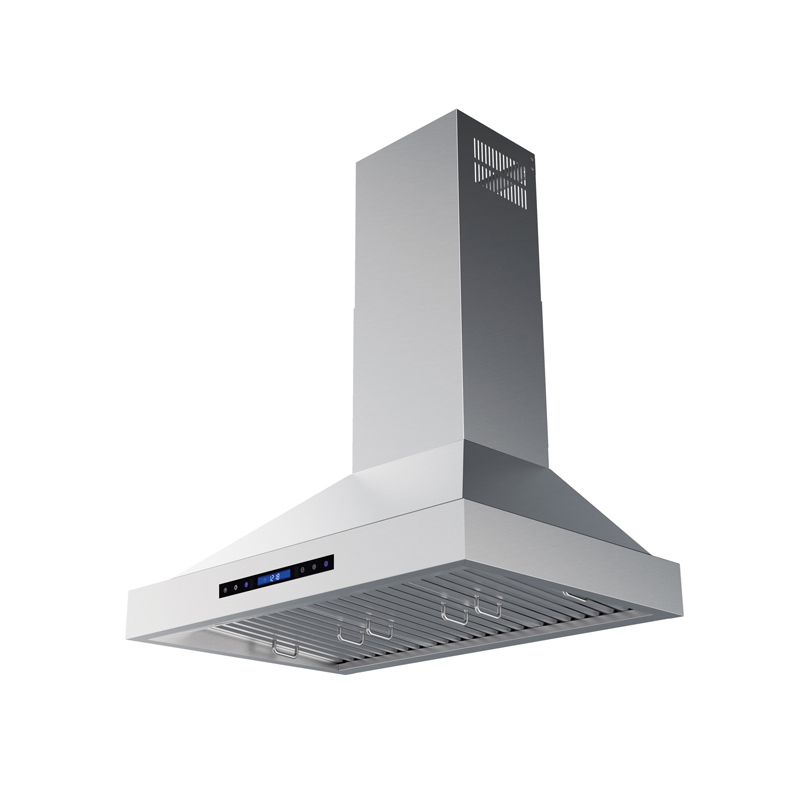 Reidom 60-Inch BBQ Range Hood with Washable Baffle Filters and Button ControlsBuilt for easy servicing, this professional-grade hood features removable stainless steel baffle filters that can be soaked and replaced, cutting the toughest vent-cleaning task down to three simple steps.View Product →
If you are choosing new equipment, remember that the finish affects long-term maintenance as much as the cooking function. Reidom builds professional stainless steel kitchen equipment with brushed, cleanable surfaces, and pairing that hardware with the routine above keeps a commercial kitchen presentable for years.
Frequently Asked Questions About Stainless Steel Cleaning
Q1: What is the best homemade cleaner for stainless steel appliances?
A 1:1 mixture of water and white vinegar, or 70% isopropyl alcohol in a spray bottle, handles most grease and fingerprints. Spray lightly, wipe along the grain, and finish with a dry microfiber cloth.
Q2: Does vinegar damage stainless steel?
Diluted vinegar is safe for periodic use on most stainless steel finishes. Avoid soaking it for long periods and always rinse and dry afterwards, because prolonged acid exposure can weaken the protective chromium oxide layer.
Q3: Can I use baking soda to clean stainless steel?
Yes. Baking soda is mildly abrasive but softer than the steel, so it will not scratch when applied as a paste with a soft cloth and gentle pressure. Rinse thoroughly so no powdery residue remains.
Q4: Why does my stainless steel look rainbow-colored?
Rainbow tints usually come from leftover detergent residue or from heat. Re-clean the surface with diluted vinegar and buff dry. If heat caused the tint, the damaged layer is permanent and can only be masked.
Q5: How do I keep fingerprints off stainless steel?
Wipe fingerprints off promptly, then apply a very thin layer of food-grade mineral oil or stainless steel polish. The oil fills microscopic surface pores, so new prints stay light and wipe away quickly.
The takeaway is simple. Match the cleaner to the soil, always wipe along the grain, and end every cleaning session with a dry buffing pass. These three habits solve most stainless steel problems before they start, whether you maintain a single refrigerator or a full commercial kitchen line. With the right supplies on hand and a weekly routine, brushed stainless steel keeps the professional look that made you choose it.
